Coach Liam’s 6-Week Power Start
DAY 1 /42
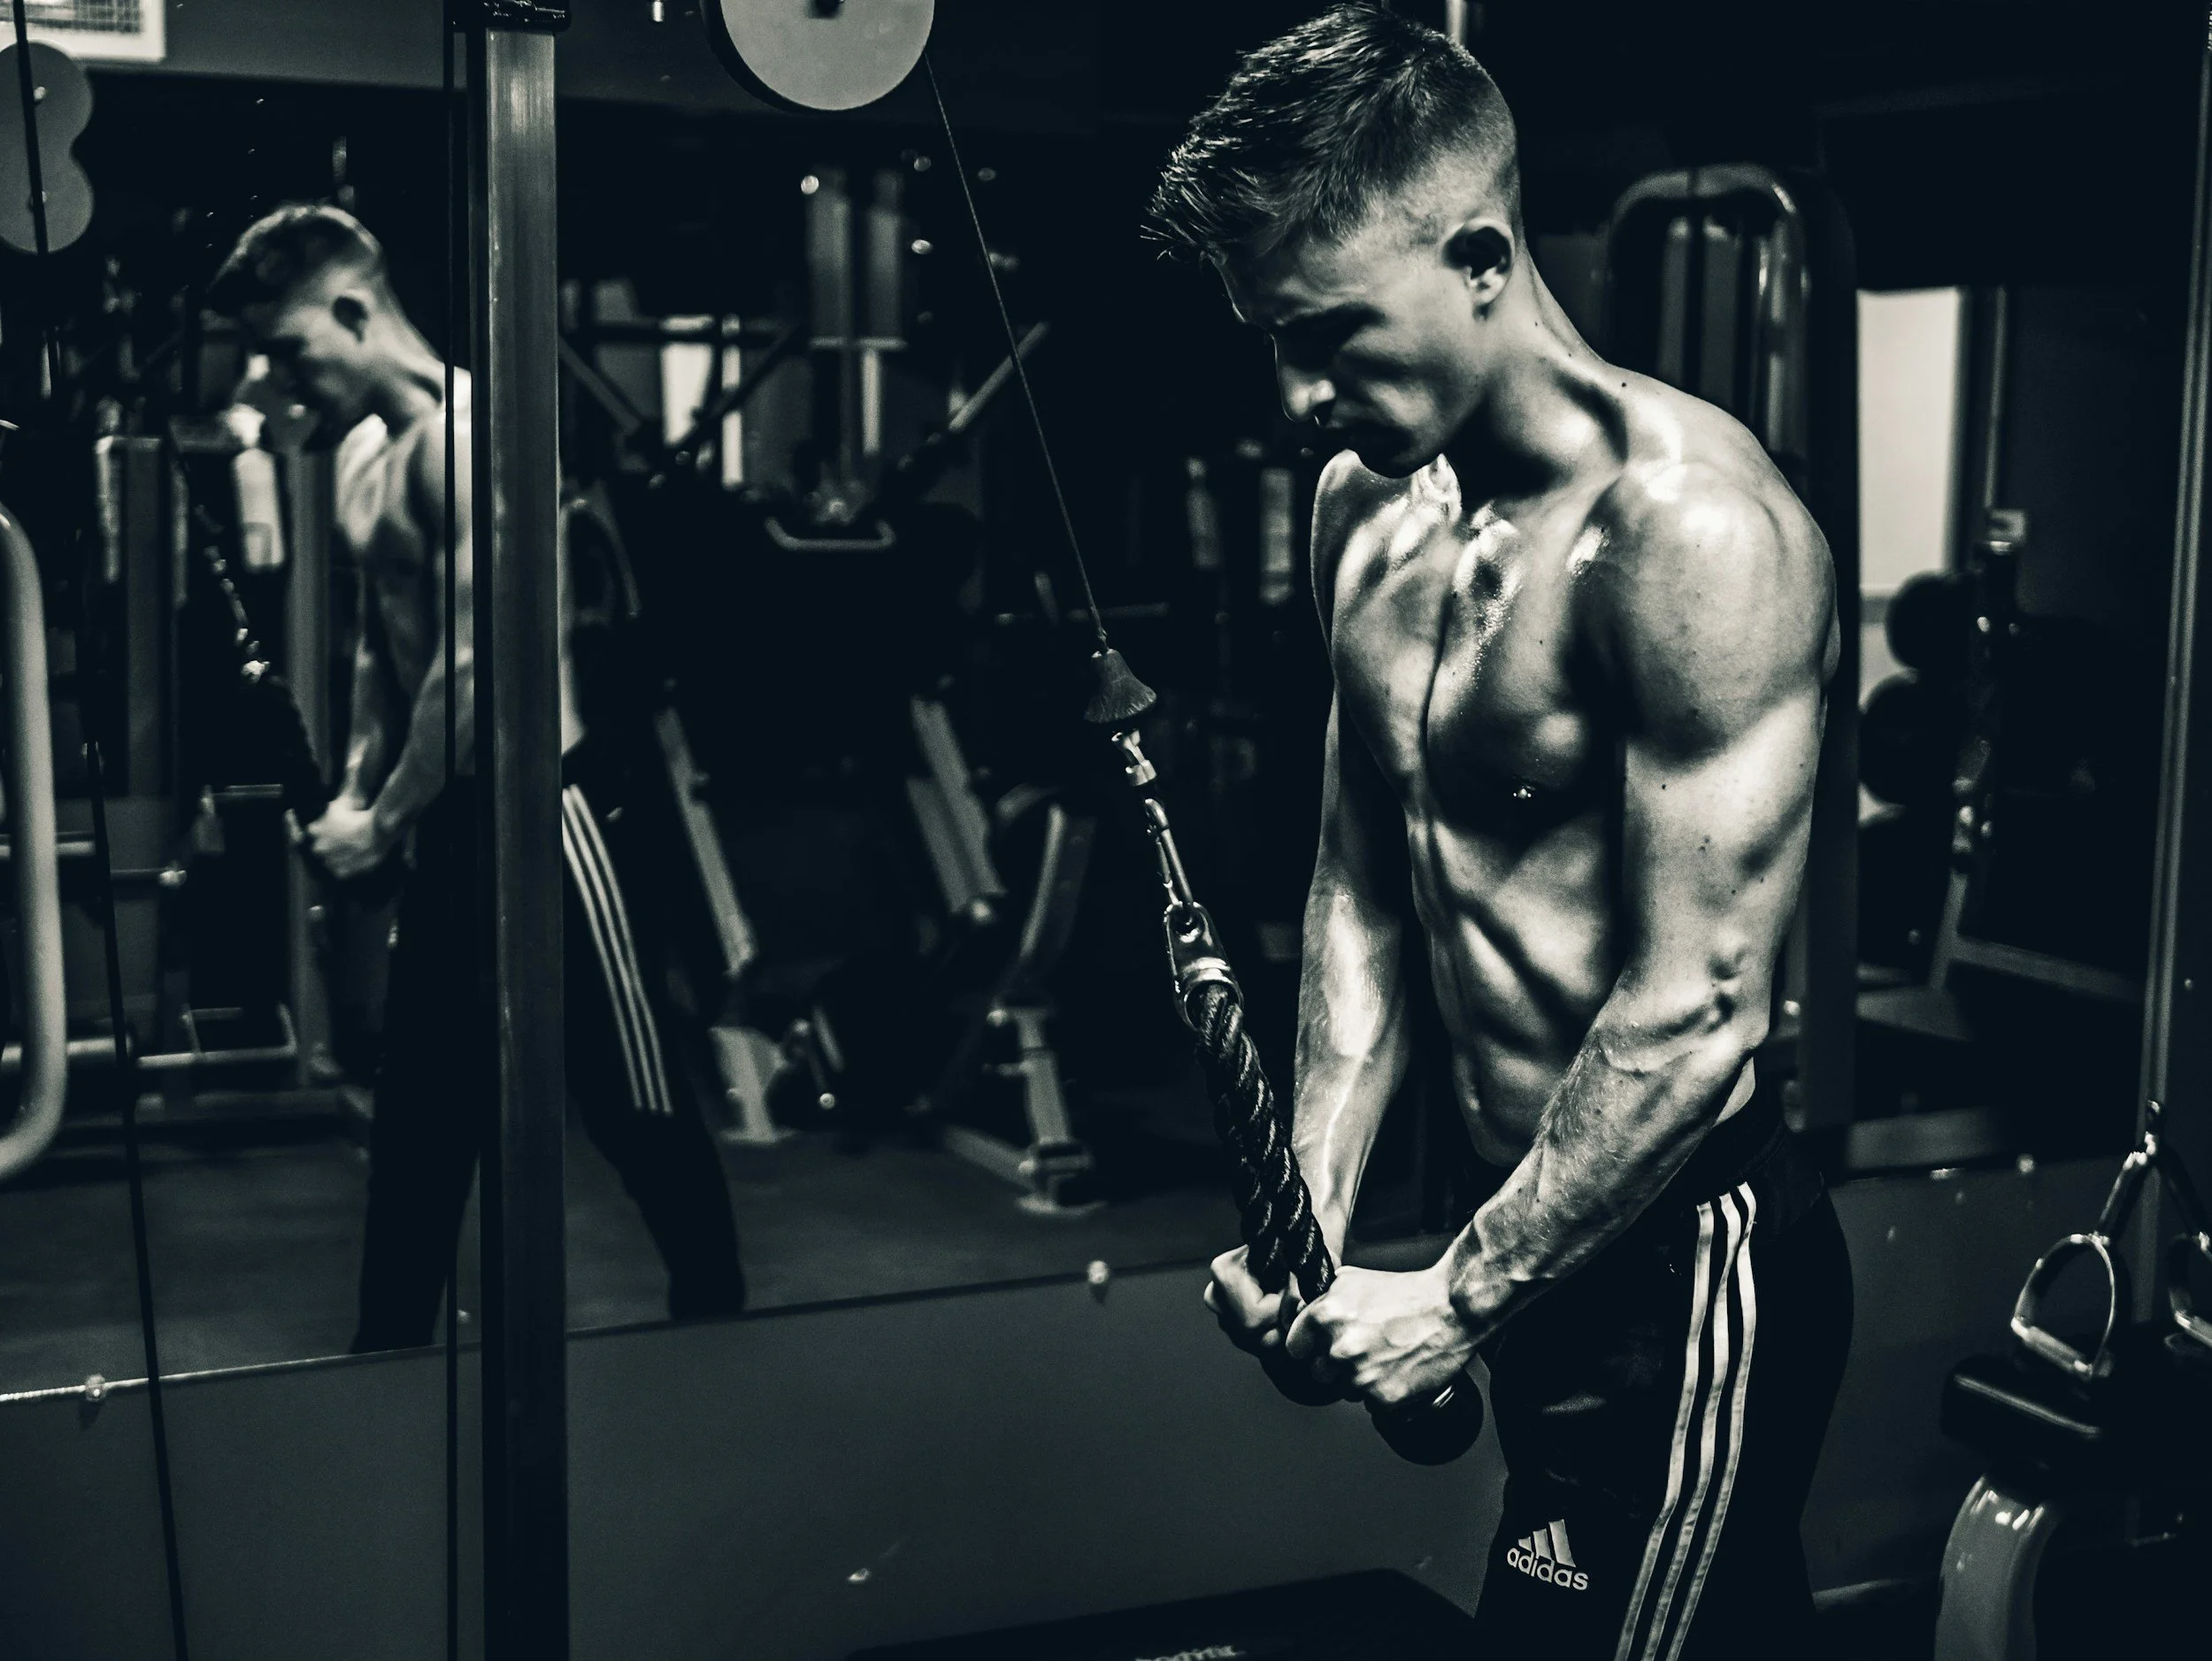
Lower Body
Power Workout
-
Jog, step machine, bike—whatever gets your legs warm. 5 minutes, no slacking. Then hit dynamic stretches for your hips, legs, and glutes. Spend 5 minutes on this. Get the blood flowing. We’re about to build strength.
-
Sets 4
Reps 8-10
Rest Time 90 sec
Instructions:Stand with feet shoulder-width apart. Position the barbell on your upper back (not your neck).
Keep your chest up and core tight, lower down into a squat until your thighs are parallel to the floor.
Drive through your heels to stand back up.
Focus on maintaining proper form with a neutral spine.
Progression Tip:
Add 2.5-5kg to each side of the bar every week, focusing on maintaining good form. -
Sets 3
Reps 10-12
Rest Time 60 sec
Instructions:Hold a barbell at hip level, palms facing down.
Keeping your knees slightly bent, lower the barbell towards your feet by bending at the hips, keeping the bar close to your body.
Lower until you feel a stretch in your hamstrings, then engage your glutes to return to standing.
Focus on slow and controlled movements, feeling the stretch in the back of your legs.
Progression Tip: Add small increments of weight each week while keeping reps within 10-12.
-
Sets 3
Reps 10 per leg
Rest Time 60 sec
Instructions:Hold a dumbbell in each hand. Step forward with one leg and lower your body until both knees are at 90-degree angles.
Push through the heel of the front leg to return to standing.
Alternate legs for each rep.
Ensure your torso remains upright throughout the movement.
Progression Tip: Increase dumbbell weight slightly every week and ensure full range of motion.
-
Sets 4
Reps 10-12
Rest Time 90 sec
Instructions:Sit in the leg press machine and place your feet shoulder-width apart on the platform.
Lower the platform until your knees are bent at 90 degrees.
Push the platform back up by extending your legs, but don’t lock your knees at the top.
Control the descent to maximize tension on your quads.
Progression Tip: Focus on adding small increments of weight each week, maintaining form and depth.
-
Sets 4
Reps 12-15
Rest Time 60 sec
Instructions:Stand on a raised surface with the balls of your feet, holding a dumbbell in one hand or using bodyweight.
Slowly raise your heels to stand on your toes, then lower back down until you feel a stretch in your calves.
Perform the movement with a full range of motion and controlled tempo.
Progression Tip: Increase dumbbell weight or reps weekly to progress.
-
Don’t just walk away. 10 minutes of stretching—quads, hamstrings, glutes. Foam roll if you’ve got one. You want to grow? Then recover properly.
Focus. I’ve Got You.
Focus. I’ve Got You.
Coach Liam.
Results Don’t Lie. Let’s Get Them.
#1: Barbell Back Squats
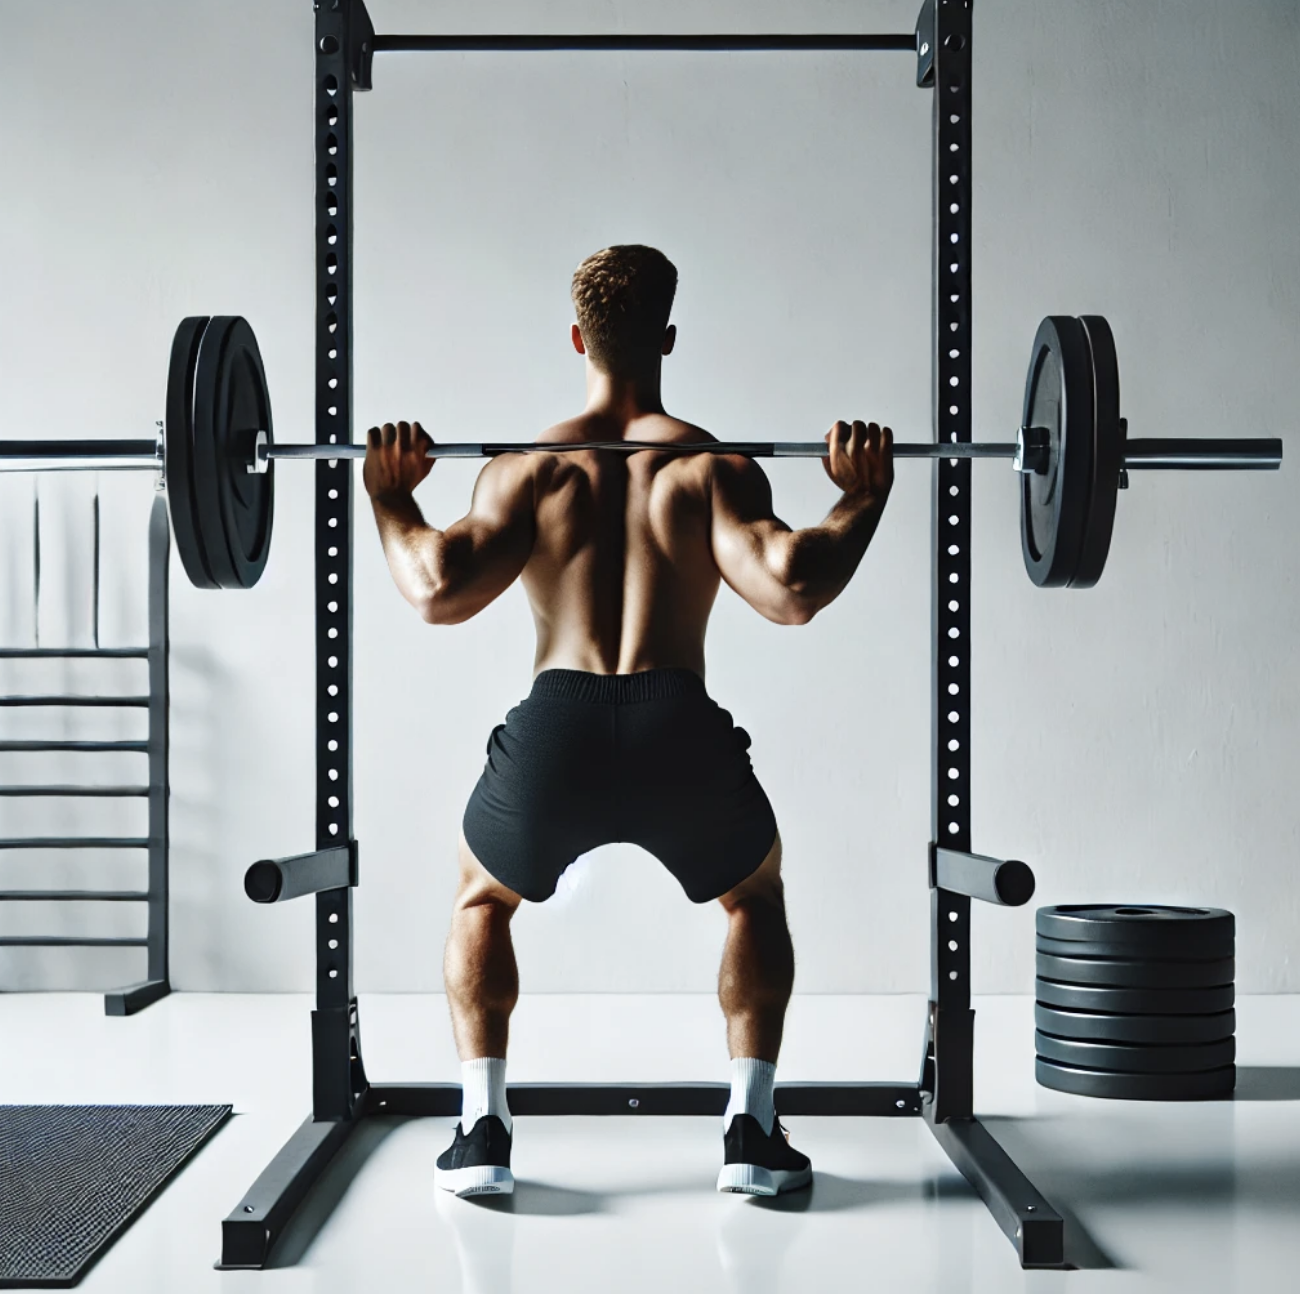
Alright, rookie, today we’re starting with the king of all leg exercises: Barbell Back Squats. This move is a game-changer for building strength in your legs and glutes. I’m gonna walk you through it step-by-step, so listen up—no fluff, just results.
Step 1: Get Set Up
First off, get that barbell positioned right. We’re talking upper back, NOT your neck. You don’t want to feel like you’re choking under the bar.
Stand with your feet shoulder-width apart. Toes slightly turned out, find a stance that feels powerful for you.
Step 2: Engage the Core
Chest up, core tight. If your core is loose, you’ll fold like a lawn chair, and that’s not what we’re here for. Keep your spine neutral—none of that hunching or arching nonsense.
Step 3: Lower Down
Now, lower your body by pushing your hips back. You want to drop down until your thighs are parallel to the ground. None of that half-rep garbage—I need you going low enough to really work those quads and glutes.
Keep your knees tracking over your toes, and stay controlled. This isn’t a race. The slower and more controlled, the better your gains.
Step 4: Drive Up
From the bottom, push through your heels. Imagine you’re trying to stand up with power, like you’re launching off the ground.
Come back up to standing without locking your knees at the top. That’s one rep down.
Focus on Form
Don’t rush through these squats. Form is everything here. You mess up your form, you mess up your results—and trust me, you don’t want that. Take your time.
Rest, Then Repeat
Hit 4 sets, with 8-10 reps each set. After each set, rest for 90 seconds. During that rest, don’t zone out—check in with how you feel and if you can go heavier on the next set. We’re here to grow, not stay comfortable.
Progression
Every week, you’re adding weight. Start with 2.5-5kg on each side of the bar. We’re not going for hero lifts today—just enough to keep challenging yourself without sacrificing form.
Final Tip
This is where strength gets built. You follow this plan, keep pushing your limits each week, and you’ll see the results. But don’t rush it—muscles grow when you focus on good form and smart progression. Now, let’s get to work.
#2: Romanian Deadlifts
Alright, let’s get down to business with Exercise 2: Romanian Deadlifts. We’re going to target your hamstrings and glutes here—these muscles are the foundation for strength and power in your lower body. Pay attention, because form is everything in this lift.
Step 1: Grab That Barbell
Start by grabbing a barbell, keeping your hands shoulder-width apart.
Stand tall with the bar at hip level. Feet should be about hip-width apart, with a slight bend in your knees—don’t lock them out, we’re not statues.
Step 2: Hinge at the Hips
Here’s where most people mess up. You’re not bending at the knees; you’re hinging at the hips. Push your hips back as you lower the bar down. Your knees stay soft, but you’re not squatting—this is all about your hips moving backward.
Keep the bar close to your body as you lower it, like you’re shaving your legs with the barbell. This keeps your lower back safe and the focus on your hamstrings and glutes.
Step 3: Feel the Stretch
Lower the bar until you feel a deep stretch in your hamstrings. That’s your signal to stop—you don’t need to go all the way to the floor.
Keep your back flat and chest up the entire time. If you round your back, you’re going to hurt yourself and that’s not what we’re here for.
Step 4: Drive Up
Once you hit that stretch, it’s time to come back up. Engage your glutes and push your hips forward to return to standing. You’re not yanking the bar up—your hips are doing all the work.
Don’t rush the movement. The slower you go, the better you’ll feel the burn in your hamstrings.
Rest, Repeat, Progress
You’re hitting 3 sets of 10-12 reps. Rest for 60 seconds between each set.
When you’re comfortable with the movement, add a little more weight each week. We’re going for progress here, not perfection on day one.
Final Tip
The Romanian Deadlift is about control. Focus on moving slow, keeping the tension in your hamstrings and glutes the whole time. This exercise is a powerhouse for lower-body strength, but only if you stay disciplined with your form.
Now get after it, no excuses.

#3: Dumbbell Lunges
Alright, rookie, time for Exercise 3: Dumbbell Lunges. This one’s going to fire up your quads, glutes, and hamstrings, and it’s a great way to build unilateral (one-sided) strength. We’re not here to mess around, so follow these steps and let’s get it done.
Step 1: Grab Those Dumbbells
Pick up a pair of dumbbells that’s challenging but manageable. Start lighter if you’re new to this—your form is more important than looking like a hero.
Stand tall with your feet hip-width apart, holding the dumbbells at your sides. Shoulders back, chest up. This isn’t a casual stroll.
Step 2: Take a Big Step Forward
Take a step forward with your right leg, about 2-3 feet. Your goal is to step far enough so that when you lunge down, both knees hit about a 90-degree angle.
Lower your body by bending both knees. Your back knee should hover just above the ground, but don’t let it slam down. This isn’t a wrestling match.
Step 3: Drive Back Up
Push through the heel of your front foot and bring yourself back to the starting position. This is where the power happens. Feel it in your glutes and quads—that's where the magic is.
Don’t wobble—keep your torso upright. Core tight. You’re in control.
Step 4: Alternate Legs
Now switch legs. Step forward with your left leg and repeat the same move.
Remember: We’re hitting 10 reps per leg, so that’s 20 total lunges. Control the movement every time. You should feel the burn but stay solid throughout.
Key Pointers:
Chest up, back straight—Don’t lean forward or round your back.
Big step forward—If your knees aren’t forming 90-degree angles, adjust your stride.
Controlled movement—This isn’t about speed. Keep it slow and steady to build muscle.
Rest, Repeat, and Progress
We’re doing 3 sets of 10 reps per leg, with 60 seconds of rest in between.
When this feels easy, don’t get too comfortable. Bump up the weight, even if it’s just a small increase.
Final Tip
Lunges are all about control and stability. If you rush through these or lose focus, you’re not getting the benefits. Keep your core tight, your movements smooth, and always aim for quality reps. It’s a grind, but that’s how you grow.
Now grab those dumbbells and let’s make it count.
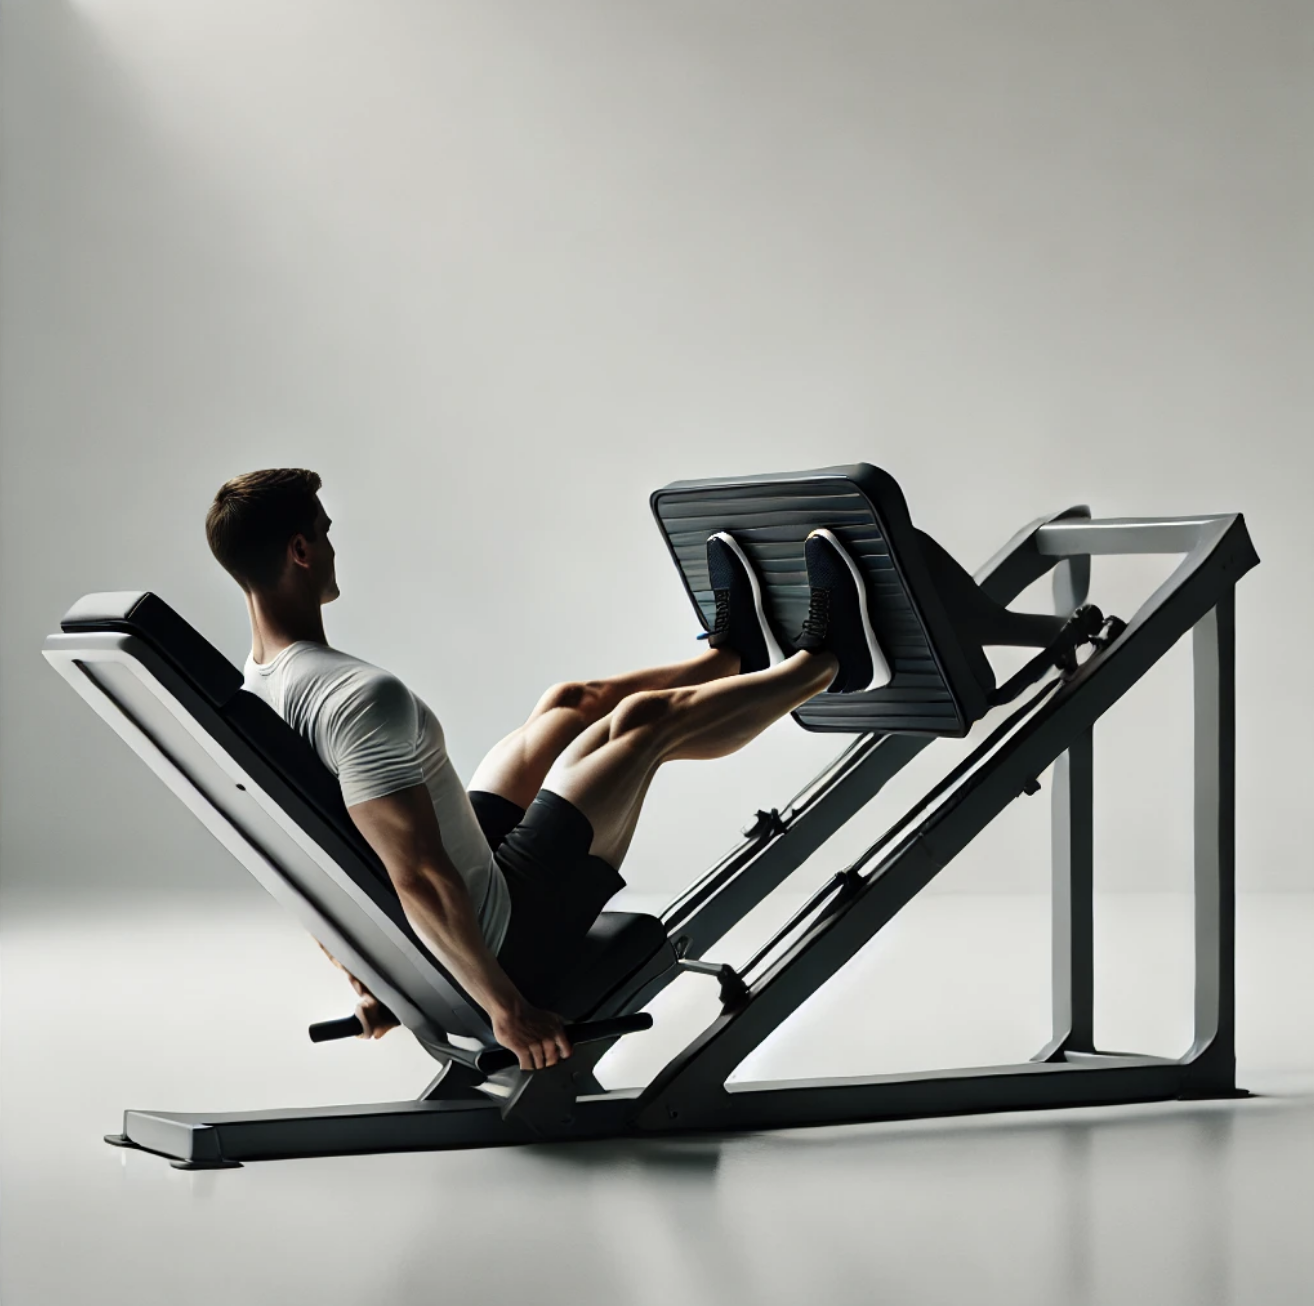
#4: Leg Press
Alright, it’s time for Exercise 4: Leg Press. This is the one that’s going to push your quads to their limits, but only if you do it right. So, pay attention. You’re about to build some serious lower-body strength—no shortcuts, just results.
Step 1: Set Up the Machine
First things first, get your feet shoulder-width apart on the platform. Your feet should be positioned a bit higher than mid-platform. Too low and you’ll mess up your knees, too high and you’re not hitting the quads enough.
Sit back into the seat, grab those handles by your sides, and make sure your back is pressed flat against the pad. No arching, no slouching.
Step 2: Unlock and Lower
Once you're in position, unlock the platform (usually with the safety handles), and slowly lower the weight by bending your knees. Keep it controlled—don’t just let the weight drop. You’re in charge here.
Lower until your knees are at a 90-degree angle. That’s your sweet spot. If you go too deep, you're risking knee strain. Not deep enough? You’re cheating yourself out of growth.
Step 3: Drive It Up
Now, push through your heels and drive the platform back up. This is all about power. Don't lock your knees at the top, though—you want to keep constant tension on the muscles.
The key here is control. Don’t bounce the weight, and don’t use momentum. This is about muscle activation, not rushing through reps.
Step 4: Repeat for Reps
We’re going for 4 sets of 10-12 reps. That means controlled, steady, and powerful presses. You’re not here to rush through—you’re here to build muscle.
After each set, take 90 seconds to rest. Let those quads breathe, then get right back to work.
Key Pointers:
Foot Position: Keep your feet shoulder-width apart and slightly above the middle of the platform to hit your quads, glutes, and hamstrings effectively.
Keep it Slow: This isn't a race. Lower the weight slow and controlled, then drive it back up with power.
Don’t Lock Out: Keep a slight bend in your knees at the top—this keeps the pressure on your quads and reduces the risk of injury.
Rest, Repeat, and Progress
With each set, focus on keeping your form tight. If it feels too easy, you’re not pushing hard enough—add more weight. But only if you can still keep that form clean.
As you get stronger, gradually increase the weight every week. We’re looking for progressive overload here, so challenge yourself.
Final Tip
The leg press is your ticket to serious quad growth, but only if you put in the work. Keep your movements controlled, stay focused on driving through your heels, and never rush. Every rep is a step closer to stronger legs.
Let’s get to work.
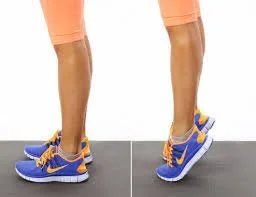
#5: Standing Calf Raises
Alright, we’re finishing off Day 1 with Exercise 5: Standing Calf Raises. These might not seem as intense as squats or leg presses, but trust me, they’re just as important. We’re hitting those calves today—no one skips leg day, and we don’t leave any muscle group behind.
Step 1: Set Up
Find a raised surface like a step, or use the calf raise machine if your gym has one. You need something that lets your heels drop below your toes for full range of motion.
Grab a pair of dumbbells or just use your body weight if you’re brand new to this. Position yourself so the balls of your feet are on the edge of the step, with your heels hanging off.
Stand tall, chest up, core tight. We’re working calves, not collapsing into bad posture.
Step 2: Lift Up
Now, push through the balls of your feet, lifting your heels as high as possible. You should feel that squeeze in your calves at the top of the movement. Don’t rush it—get that full contraction.
Imagine you’re trying to stand on your tiptoes, but with control. No bouncing here.
Step 3: Lower Down
Slowly lower your heels back down past the level of the step, until you feel a stretch in your calves. This is where the muscle is really being worked. Don’t just drop down, though—control is key.
Keep the movement smooth. Fast up, slow down. The lowering phase is where a lot of the muscle growth happens.
Step 4: Repeat for Reps
You’re hitting 4 sets of 12-15 reps here. Rest for about 60 seconds between sets. Keep it consistent and don’t rush.
By the time you’re done, your calves should feel tight and fully worked. If not, you’re not pushing hard enough—next time, add weight or slow down even more.
Key Pointers:
Full Range of Motion: Drop your heels low and lift them as high as possible. No half-reps, or you’re only cheating yourself.
Don’t Bounce: Keep the movement controlled. Bouncing uses momentum, not muscle, and that’s not what we’re here for.
Add Weight Gradually: Start with just your body weight if you’re new, then progress to dumbbells or use the machine. The goal is to improve, not stay comfortable.
Final Tip
Calves might seem like a small muscle, but they’re essential for balance, posture, and overall leg strength. Take your time with these, focus on getting that full stretch and contraction, and you’ll see results. Let’s finish strong.
Now go hit those calf raises.